

Installing steel pipes is a task that requires careful planning, the right tools, and a solid understanding of the process. As a trusted steel pipe supplier, we've seen firsthand the importance of proper installation to ensure the longevity and functionality of steel pipes in various applications. In this blog post, we'll guide you through the step-by-step process of installing steel pipes, from preparation to the final connections.
Step 1: Planning and Preparation
Before you start installing steel pipes, it's crucial to have a clear plan in place. First, determine the purpose of the pipe installation. Are you using the pipes for water supply, drainage, or structural support? This will help you choose the right type of steel pipe for the job. For example, if you need pipes for outdoor use and want protection against corrosion, HDG Square Steel Pipe might be a great option.
Next, measure the area where the pipes will be installed. Take accurate measurements of the length, width, and height to ensure you purchase the correct amount of pipe. It's also important to consider any obstacles or existing structures that may affect the installation. Make a detailed sketch of the installation area, noting the location of joints, bends, and connections.
Step 2: Selecting the Right Steel Pipes
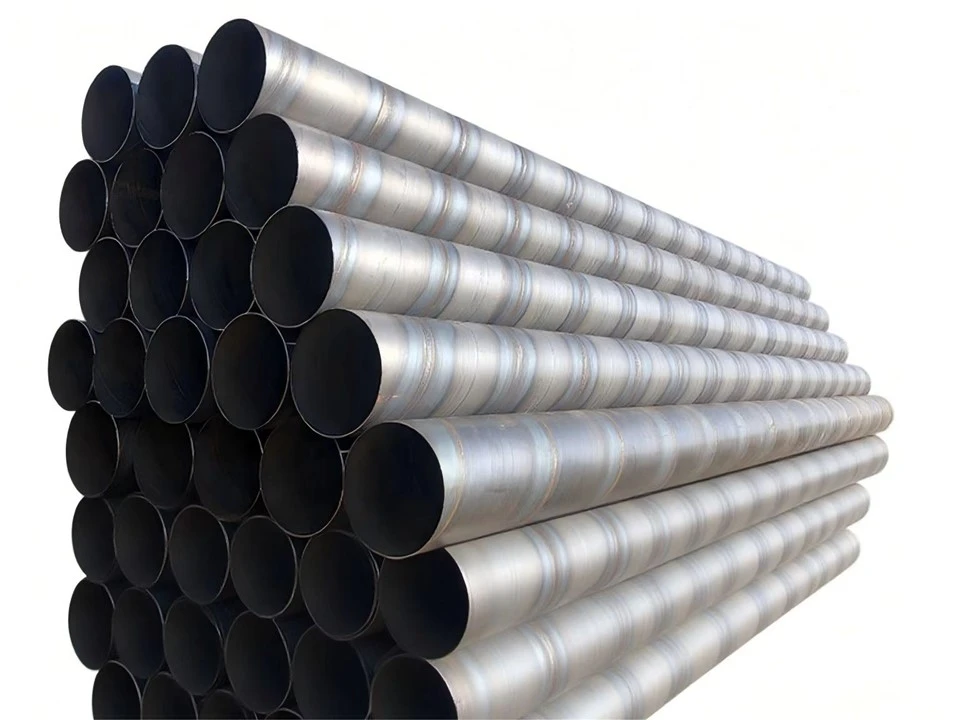
There are several types of steel pipes available, each with its own unique properties and applications. Some common types include Spiral Steel Pipe, which is often used for large-diameter pipelines due to its high strength and durability, and Gi Pipe Seamless, which is known for its smooth interior surface and resistance to corrosion.
When selecting steel pipes, consider factors such as the pipe's diameter, wall thickness, and material grade. The diameter of the pipe will depend on the flow rate and pressure requirements of your system. A larger diameter pipe can handle a higher flow rate, while a smaller diameter pipe may be sufficient for low-flow applications. The wall thickness of the pipe is also important, as it affects the pipe's strength and durability. Thicker walls are generally recommended for high-pressure applications.
Step 3: Gathering the Necessary Tools
To install steel pipes, you'll need a variety of tools. Some essential tools include a pipe cutter, a pipe wrench, a hacksaw, a tape measure, a level, and a threading machine (if you're using threaded pipes). You may also need a welding machine if you're making welded connections. Make sure all your tools are in good working condition and that you have the appropriate safety equipment, such as gloves, goggles, and a hard hat.

Step 4: Cutting the Steel Pipes
Once you have your pipes and tools ready, it's time to cut the pipes to the appropriate length. Use a pipe cutter or a hacksaw to make clean, straight cuts. If you're using a pipe cutter, place the cutter around the pipe and tighten the cutting wheel until it makes contact with the pipe. Then, rotate the cutter around the pipe, applying pressure as you go. Make several passes with the cutter until the pipe is completely cut.
If you're using a hacksaw, secure the pipe in a vise and use a fine-tooth blade to make the cut. Make sure to cut slowly and steadily to avoid jagged edges. After cutting the pipe, use a file or a deburring tool to remove any burrs or rough edges from the cut end.
Step 5: Preparing the Pipe Ends
Before making connections, you need to prepare the pipe ends. If you're using threaded pipes, use a threading machine to cut threads on the end of the pipe. Follow the manufacturer's instructions carefully to ensure the threads are cut to the correct size and pitch. If you're making welded connections, clean the pipe ends thoroughly to remove any dirt, grease, or rust. You can use a wire brush or a grinder to clean the pipe ends.
Step 6: Making the Connections
There are several ways to connect steel pipes, including threaded connections, welded connections, and mechanical connections. Threaded connections are the most common type of connection for small-diameter pipes. To make a threaded connection, apply pipe thread sealant to the threads of the pipe and then screw the pipe into the fitting. Use a pipe wrench to tighten the connection, but be careful not to over-tighten, as this can damage the threads.
Welded connections are stronger and more permanent than threaded connections, but they require more skill and equipment. If you're making a welded connection, use a welding machine to join the pipes together. Make sure to follow proper welding procedures and safety precautions.
Mechanical connections, such as couplings and flanges, are another option for connecting steel pipes. These connections are easy to install and can be used in a variety of applications. To make a mechanical connection, simply align the pipes and attach the coupling or flange using bolts or screws.
Step 7: Testing the Installation
After making all the connections, it's important to test the installation to ensure there are no leaks. Fill the pipes with water or air and check for any signs of leakage. You can use a pressure gauge to measure the pressure in the pipes and make sure it's within the recommended range. If you find any leaks, tighten the connections or make repairs as needed.
Step 8: Securing the Pipes
Once the installation has been tested and is leak-free, it's time to secure the pipes in place. Use pipe clamps or hangers to hold the pipes in position. Make sure the pipes are properly supported and that they are not subject to excessive stress or vibration.
Step 9: Finishing Touches
After securing the pipes, you can add any finishing touches, such as painting the pipes to protect them from corrosion or adding insulation to prevent heat loss. Make sure to follow the manufacturer's instructions when applying paint or insulation.
Conclusion
Installing steel pipes is a complex but rewarding task. By following these steps and using the right tools and materials, you can ensure a successful installation. As a steel pipe supplier, we're committed to providing you with high-quality steel pipes and the support you need to complete your project. If you have any questions or need assistance with your steel pipe installation, please don't hesitate to contact us. We're here to help you make the right choices and ensure your project is a success. Whether you're a professional contractor or a DIY enthusiast, we look forward to working with you on your next steel pipe installation project.
References
- ASME B31.3 - Process Piping Code
- ASTM A53 - Standard Specification for Pipe, Steel, Black and Hot-Dipped, Zinc-Coated, Welded and Seamless
- AWS D1.1 - Structural Welding Code - Steel